
HamClock has been a go-to display for ham radio operators for years, bringing useful data like solar conditions, UTC clocks, and propagation tools to your shack at a glance. It offered similar features to the $400 Geochron, but for completely free. But in 2026, everything changes.
Following the passing of its creator, Elwood Downey, WB0OEW (SK), the original HamClock project has reached its official end-of-life. According to the final statement from the project:
HamClock has reached end-of-life. The last release is version 4.22. All HamClocks will cease to function in June 2026. Thank you for your interest.
If you’ve been relying on HamClock in your shack, this news probably came as a shock — but don’t worry, there’s already a solid alternative: OpenHamClock.
What Is OpenHamClock?
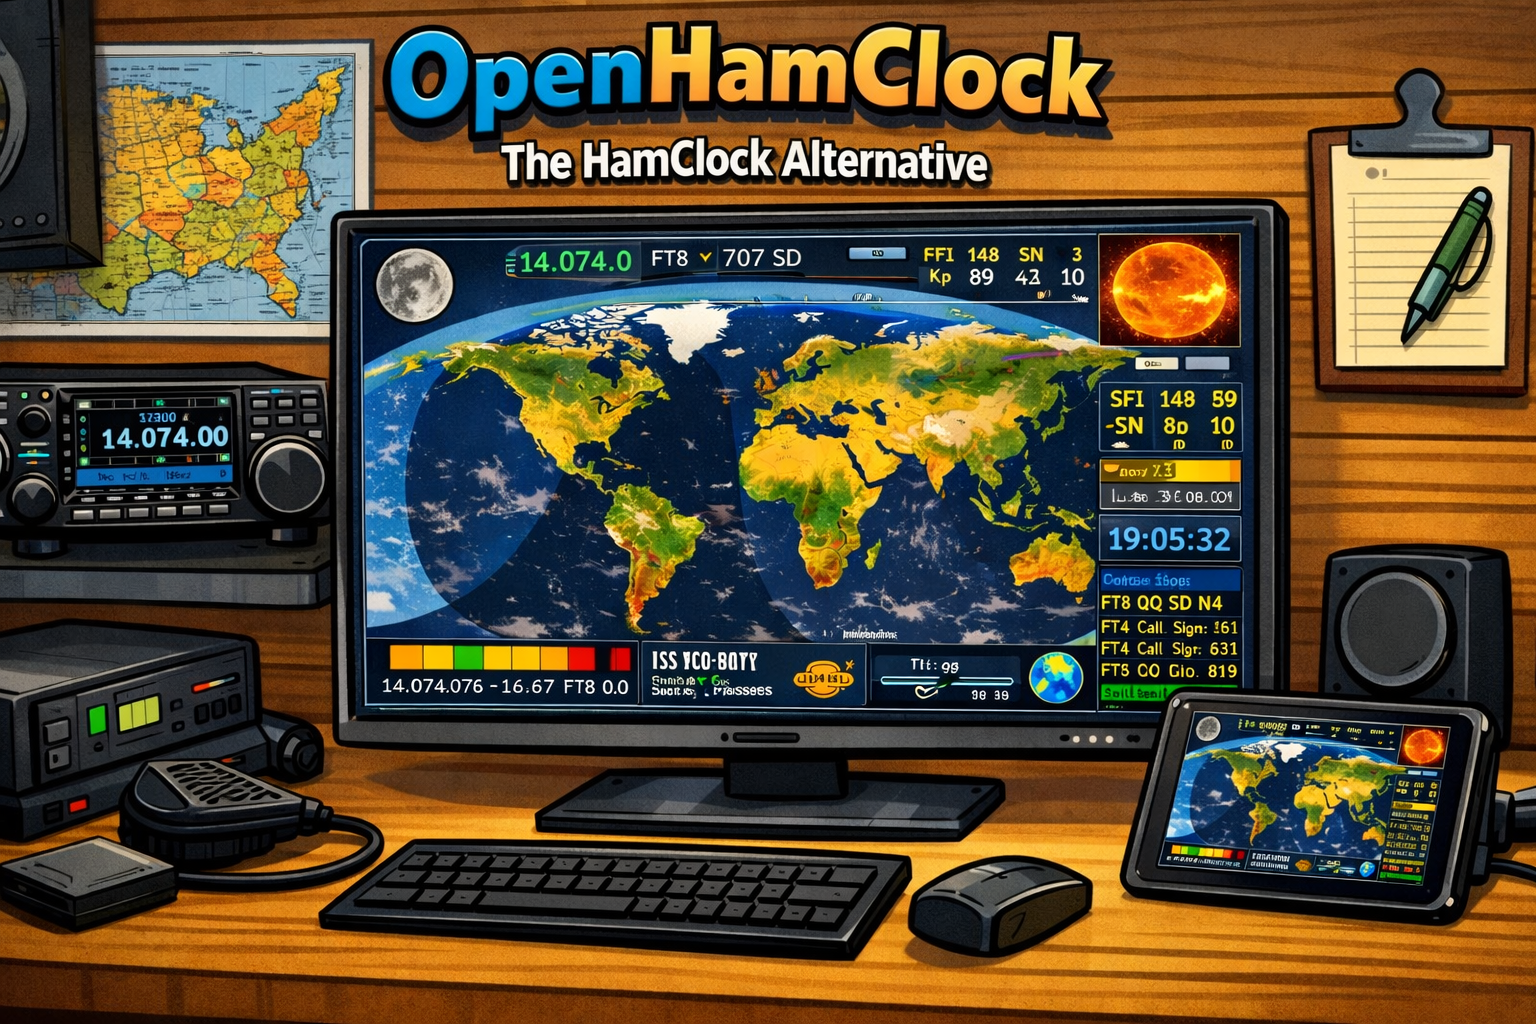
OpenHamClock is a community-driven fork of the original HamClock software. It’s open-source, actively maintained, and works on Windows, Linux, Raspberry Pi, or just about any device with a browser. Functionally, it mirrors the original interface with ongoing tweaks and improvements from dedicated developers and a growing community.
Option 1: Use OpenHamClock in Your Browser
The easiest way to get started is by visiting OpenHamClock.com using any modern browser. No installation needed — just enter your callsign and gridsquare, leave it in fullscreen, and you’re set. This is perfect for spare monitors, old tablets, or smart displays.
Option 2: Install OpenHamClock on an Inovato Quadra
If you’re like me and had your Inovato Quadra 4K running HamClock, good news — you can repurpose it to run OpenHamClock with just a little setup. Here’s a full step-by-step guide:
Step 1: Start with a Fresh Image
Begin with a clean install of the latest Quadra OS from the official Inovato site. Flash it to your microSD card and boot up your Quadra.
Step 2: Install NVM (Node Version Manager)
Once your Quadra boots up, open the terminal and run this command to install NVM: curl -o- https://raw.githubusercontent.com/nvm-sh/nvm/v0.40.4/install.sh | bash
After the install completes, restart your device so NVM is available.
Step 3: Install Node.js Version 20
Now install Node.js version 20 with: nvm install 20 nvm use 20
AUTHOR NOTE: Some other guides online are prompting people to run sudo nvm install 20 and sudo nvm use 20, but from my personal install, using sudo did not work. Try both to see what works for you.
💡 If prompted for a password while using sudo, the default is: 1n0v@t0
Step 4: Download and Launch OpenHamClock
In the terminal, run these commands one at a time:
git clone https://github.com/accius/openhamclock.git
cd openhamclock
npm install
npm start
OpenHamClock should now be running locally. Open your browser and go to: http://localhost:3000
BONUS: Launch in Fullscreen
If you want it to launch fullscreen (ideal for TVs or dedicated displays), run: chromium --start-fullscreen http://localhost:3000
Some TVs, like my cheap Roku 4K, may not handle resolution scaling perfectly — but this workaround gets things looking clean.
Final Thoughts
This project is still evolving, but the devs behind OpenHamClock are doing awesome work. It’s inspiring to see the ham community keep WB0OEW’s legacy alive by building on what he started.
If you’re running OpenHamClock or have a cool shack display setup, I’d love to hear about it. Drop a comment and let’s swap ideas!
73 and see you on the air!